docker在mac上的使用及常见问题

安装方式

下载客户端

在这里选择版本和系统
https://docs.docker.com/engine/install/ 选择版本可下载docker客户端。

我用客户端在docker build/pull出了很多问题,所以推荐采用以下方式

homebrew安装

  1. 安装homebrew

https://brew.sh/

mac os terminal /bin/bash -c "$(curl -fsSL https://raw.githubusercontent.com/Homebrew/install/HEAD/install.sh)"

  1. 安装docker
1
2
brew update && brew upgrade
brew install docker docker-compose
  1. 插件

然后配置docker-compose作为插件,这样就可以使用docker compose命令行

首先创建一个文件夹存放docker命令行插件
mkdir -p ~/.docker/cli-plugins

然后将docker-compose命令符号链接到新文件夹
ln -sfn $(brew --prefix)/opt/docker-compose/bin/docker-compose ~/.docker/cli-plugins/docker-compose

运行docker compose
docker compose验证是否安装成功

另外可能需要buildx来构建容器,安装并符号链接到上述文件夹

1
2
3
4

brew install docker-buildx
ln -sfn $(brew --prefix)/opt/docker-buildx/bin/docker-buildx ~/.docker/cli-plugins/docker-buildx

  1. 验证docker runtime成功安装
1
2
3
4
5
% docker run hello-world

Hello from Docker!
This message shows that your installation appears to be working correctly.

表明安装成功

问题总结

“/app/dist”: not found

先检查tsconfig.json有没有设置outDir为dist,排除是路径不存在的问题

docker build安装ffmpeg这一步报错,可能是内存不够导致的失败

修改了更大的内存:

1
2
3
4
colima stop
colima delete
colima start --cpu 4 --memory 12 --disk 100

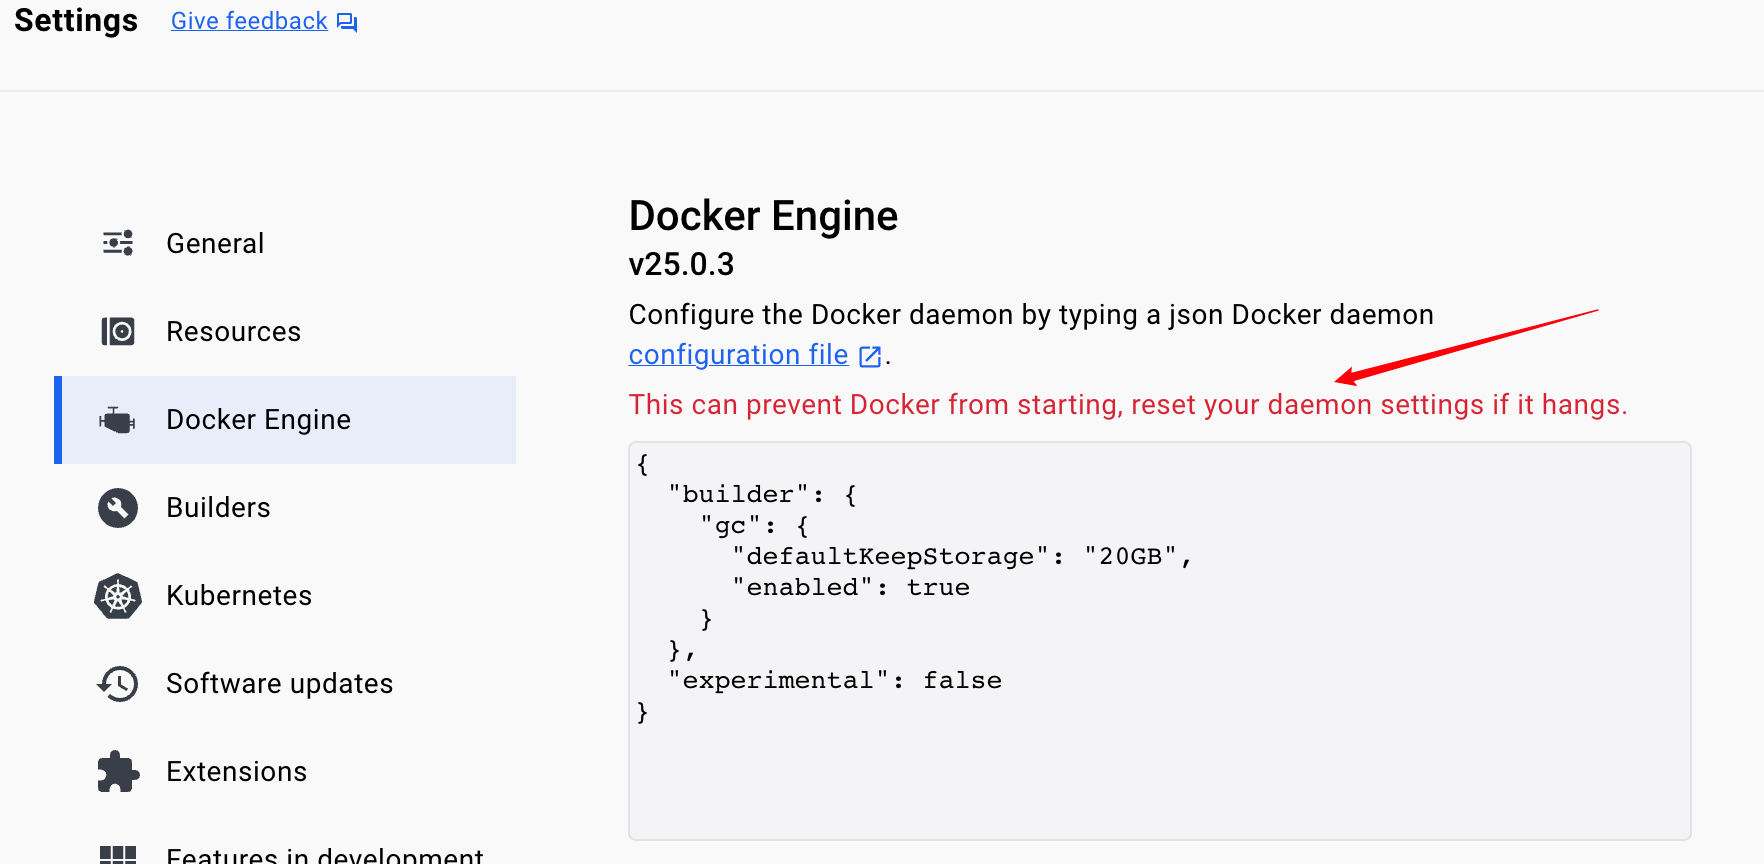
docker engine修改客户端卡住

客户端这里不要轻易改,我改了之后就卡住了
注意,在这里修改会一直卡在starting

Error load metadata for docker.io

  1. 删除缓存,重新登录
1
docker logout && login

https://medium.com/@matijazib/how-to-fix-the-error-load-metadata-for-docker-io-when-building-your-docker-image-on-macos-ec6deee664fd
https://serverfault.com/questions/1130018/how-to-fix-error-internal-load-metadata-for-docker-io-error-while-using-dock

1
2
3
4
5
6
docker system prune -a
WARNING! This will remove:
- all stopped containers
- all networks not used by at least one container
- all images without at least one container associated to them
- all build cache

这个命令会删掉所有停掉的容器/未使用的网络或镜像/所有构建的缓存

  1. 可能需要检查credential
    1
    2
    3
    brew install docker-credential-helper
    docker logout
    docker login
    https://github.com/docker/for-mac/issues/2131
    https://davejansen.com/docker-credentials-store/
    https://github.com/abiosoft/colima/issues/167

docker desktop卡住打不开/starting the docker engine

  1. Applications > Utilities > Activity Monitor.app杀死所有docker进程

  2. 删掉之前的容器

sudo rm -rf ~/Library/Containers/com.docker.*

设置里面~/Library/Group\ Containers/group.com.docker/settings.json找到”filesharingDirectories”:删掉[]中间的值

https://stackoverflow.com/questions/69552636/cannot-launch-docker-desktop-for-mac

  1. 如果能打开desktop可以重新卸载再安装

代理设置错误

1
2
3
4
5
6
7
8
9

> [builder 4/6] RUN npm install:
72.13 npm ERR! code ECONNREFUSED
72.13 npm ERR! syscall connect
72.13 npm ERR! errno ECONNREFUSED
72.14 npm ERR! FetchError: request to
...
72.14 npm ERR! If you are behind a proxy, please make sure that the
72.14 npm ERR! 'proxy' config is set properly. See: 'npm help config'

因为我在Dockerfile里面加了环境变量

1
2
3
4
5
# Env
ENV HTTP_PROXY "http://127.0.0.1:7890"
ENV HTTPS_PROXY "https://127.0.0.1:7890"
ENV FTP_PROXY "ftp://127.0.0.1:7890"

  1. 环境变量设置的https proxy地址应该是http开头而不是https

  2. 参考官方文档,应该使用build time variables才能在build的时候使用代理。

Dokerfile里面的ENV变量会一直影响到中间或者最后生成的image镜像,通过--build-arg添加的环境变量需要每次build的时候都加上

build命令修改成以下

1
docker build -t video-processing-service . --platform linux/amd64 --build-arg HTTP_PROXY=http://127.0.0.1:7890 --build-arg HTTPS_PROXY=http://127.0.0.1:7890

mac M1 上失败

  1. Mac 在build的时候,要加上--platform linux/amd64

https://www.cbui.dev/how-to-build-amd64-docker-images-on-apple-silicon/

https://www.macstadium.com/blog/building-docker-images-on-apple-silicon-with-buildx

或者设置环境变量中加上默认docker平台的设置

https://stackoverflow.com/questions/73398714/docker-fails-when-building-on-m1-macs-exec-usr-local-bin-docker-entrypoint-sh

https://stackoverflow.com/questions/65612411/forcing-docker-to-use-linux-amd64-platform-by-default-on-macos/69636473#69636473

  1. “/app/dist”: not found / apt-get canceled

可能是内存不够,修改memory更大

https://stackoverflow.com/questions/77904246/docker-m1-mac-for-google-cloud-run-build-hangs

https://github.com/Chanzhaoyu/chatgpt-web/issues/839

  1. docker pull: Error response from daemon: Get “https://registry-1.docker.io/v2
  • colima

可能是docker desktop的问题,可通过colima下载配置docker

https://github.com/docker/for-mac/issues/6704

https://docs.docker.com/network/proxy/

~/.docker/config.json加上这个

1
2
3
4
5
6
7
"proxies": {
"default": {
"httpProxy": "http://host.docker.internal:7890",
"httpsProxy": "http://host.docker.internal:7890",
"noProxy": "*.test.example.com,.example.org,127.0.0.0/8"
}
}

或者是在docker destop -> settings -> Resources -> Proxies里面添加以上配置。

  • clash代理

改用tun模式,如果是docker desktop需要在Resources -> Proxies里面加上http/https代理配置,如果是orbstack需要orb config network_proxy socks5://127.0.0.1:7897

Dockerfile

开发阶段

1
2
3
4
5
6
7
8
9
10
11
12
13
14
15
16
17
18
19
20
21
22
23
24
25
26
27
28
29
30
# blueprint for docker image
# start with a base image

# Use an official Node runtime as a parent image
FROM node:18

# built on top of linux image
# image is the blueprint for 1 or more containers
# container used to run code in its environment
# Set the working directory in the container to /app
WORKDIR /app

# Copy package.json and package-lock.json into the working directory
# COPY source dest
COPY package*.json ./

# Install dependencies: ffmpeg in the container
RUN apt-get update && apt-get install -y ffmpeg

# Install any needed packages specified in package.json(after copy json file)
RUN npm install

# Copy app source inside the docker image
COPY . .

# Make port 3000 available outside this container
EXPOSE 3000

# Define the command to run your app using CMD (only one CMD allowed)
CMD [ "npm", "start" ]

生产阶段

开发阶段,所有根目录下面的文件都复制了。在生产阶段,为了减少复制的文件,dockerfile只复制了编译的文件

如果需要用到根目录下面的文件例如一个视频文件xxx.mov,但是没有复制过去,可以用命令docker cp ./xxx.mov <container-id-or-name>:/app/xxx.mov 复制host上的视频到容器里面

和部署步骤差不多,分为build和production阶段

1
2
3
4
5
6
7
8
9
10
11
12
13
14
15
16
17
18
19
20
21
22
23
24
25
26
27
28
29
30
31
32
33
34
35
36
37
38
39
40
41
42
# Stage 1: Build stage
FROM node:18 AS builder

# Set the working directory in the container to /app
WORKDIR /app

# Copy package.json and package-lock.json into the working directory
COPY package*.json ./

# Install any needed packages specified in package.json
RUN npm install

# Bundle app source inside the docker image
COPY . .

# Build the app
RUN npm run build

# Stage 2: Production stage
FROM node:18

# Install ffmpeg in the container
RUN apt-get update && apt-get install -y ffmpeg

# Set the working directory
WORKDIR /app

# Copy package.json and package-lock.json
COPY package*.json ./

# Install only production dependencies
RUN npm install --only=production

# Copy built app from the builder stage
COPY --from=builder /app/dist ./dist

# Make port 3000 available to the world outside this container
EXPOSE 3000

# Define the command to run your app using CMD which defines your runtime
CMD [ "npm", "run", "serve" ]

参考链接

  1. https://github.com/abiosoft/colima

  2. https://github.com/docker/for-mac/issues/2131

  3. https://smallsharpsoftwaretools.com/tutorials/use-colima-to-run-docker-containers-on-macos/

  4. https://cloud-atlas.readthedocs.io/zh-cn/latest/kubernetes/container_runtimes/containerd/nerdctl.html


docker在mac上的使用及常见问题
https://hexwhat.top/2024/03/28/docker-mac/
作者
Leah
发布于
2024年3月28日
更新于
2024年5月1日
许可协议